What to Do With a Rusty Dumpster
29 December 2014
Note: this is a much simpler form of this tutorial from Spoongraphics.
The other night, a friend of mine and I were chatting, and she complimented something I’ve been working on (but haven’t yet posted). And I said, “ehh, it’s just a dumpster.”
She replied, “I would not have assumed dumpster.”
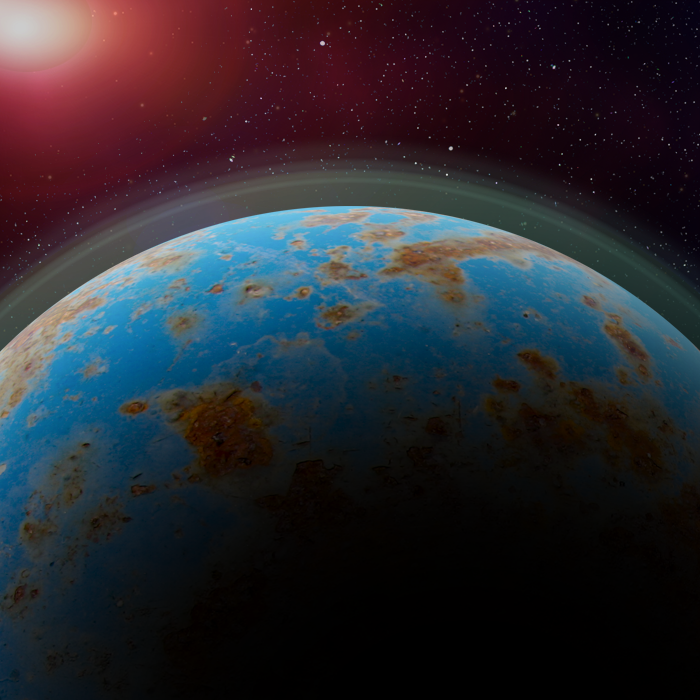
So, here’s my dumpster space scene mini-tutorial.
- Acquire a photo of a rusty dumpster. I used this one ($3), but many others are out there. Or—take your own! I used a blue (sea) + rust (land) combo, but there are many other combinations that work. Scratches, however, make it seem unrealistic (though you can mend those in Photoshop).
- Cut out a circular piece that you like the water/land shapes on. Spherize (in Photoshop: Filter > Distort > Spherize). Rotate it, if desired, to put the elements where you most like them. (I didn’t bother with this.)
- Create a black area the same size. Gaussian blur it with a big blur. Then blur it again. This is the most fiddly part, and you’ll need to fuss with it to make it look realistic.
- Expand the shadow region until it looks right.
- Add inner and outer glow to the planet so it has atmosphere.
- Find a good lens flare photo. I used one from Photography planet I had lying around and used it at 80% normal blend mode.
- A good background is black or near-black, and has stars. I happened to use one from here. You can use brushes to make star patterns, or use photos of sky or nebulae—whatever.
- I added a different layer above the lens flare, set it to lighten 70%, then filled in a few places (atmosphere, flare itself) with 50%, 70%, or 100% black to keep the stars from peeking through.
From there, the Spoon Graphics tutorial has lovely ideas on how to make the whole thing more realistic, including adding clouds and stuff.